


❤️Beginner-Friendly🎄 DIY Oversized Patchwork Christmas Tree Door Hanging Kit
❤️Beginner-Friendly🎄 DIY Oversized Patchwork Christmas Tree Door Hanging Kit
Couldn't load pickup availability
-
Ordered
- - -
Order Ready
- - -
Delivered

❤️Beginner-Friendly🎄 DIY Oversized Patchwork Christmas Tree Door Hanging Kit


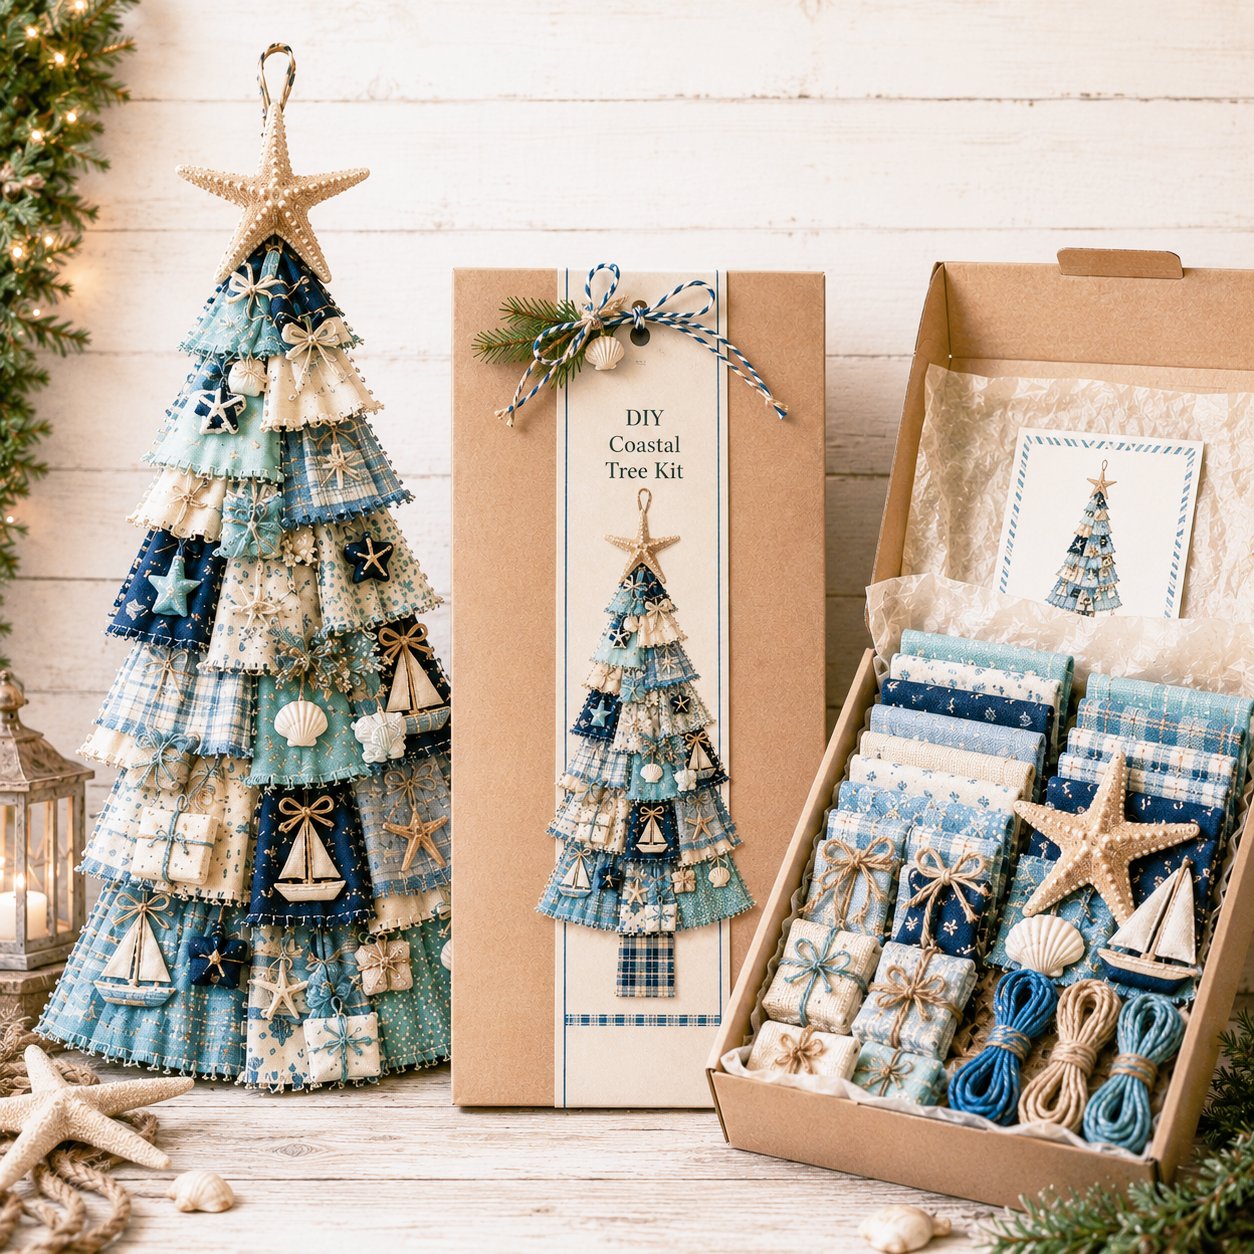
From Holiday Project to Front-Door Moment
Make the Tree Guests Notice Before They Knock
This is the kind of holiday project that ends at the front door, not in a craft drawer. Assemble the patchwork tree, then hang its approximately 51-inch silhouette where a standard ornament would disappear: on an interior or front door, an entryway wall, or beside the mantel. The payoff is visible every time you come home—a festive welcome shaped by your own hands.
Plaid, Bows, Berries—and a Little Story in Every Tier
The Christmas design is built to reward a closer look. Layered green sections meet red-and-green plaids, stitched edges, berry clusters, candy-cane accents, small wrapped-gift details, bows, and a star topper. These are not abstract “holiday” touches: together, they create a tree with the busy, nostalgic character of a decorated Christmas corner rather than a single flat fabric silhouette.
The Pieces for One Finished Hanging
Open a project, not a pre-finished decoration. The listed kit contents support one hanging tree: fabric pieces for layered sections, star-topper materials, mini gift accents, candy-cane decorations, bows and ribbon details, berry sprigs, thread, a hand-sewing needle and basic supplies, backing or filling material, a hanging loop or cord, and instructions. The shown flat lay illustrates the Christmas presentation; selected styles may look different.
A Clear Path From Fabric Layers to Door Hanging
The instructions follow four practical stages: prepare and arrange the fabric sections, stitch and shape them with the backing and filling materials, add the decorative accents, then attach the topper and hanging loop. It is described as beginner-friendly to intermediate-friendly, with basic sewing familiarity helpful. That makes the project approachable without pretending it is instant or no-sew—ideal for a slow afternoon or planned craft night.
A Gift With a Making Moment Built In
Instead of giving another decoration that is simply unboxed and hung, give a project with a second chapter. The recipient can layer the fabric, choose decorative placement, and finish a large seasonal hanging for a favorite room or entryway. It suits the holiday host, sewing enthusiast, home decorator, or friend who enjoys turning a quiet creative session into something the household can see.
Choose a Theme, Then Give It a Place to Shine
Choose from the live Style options—Christmas, Patriotic, Angel, Gingerbread, Spring, Coastal, or Sewing—based on the occasion or room you have in mind. Only the Christmas style appears in the supplied imagery, so do not assume every option shares the same accents. Once finished, display the hanging indoors or in a dry, protected covered area; keep it away from rain, moisture, strong wind, and prolonged outdoor exposure.
A Different Kind of Seasonal Accent
Choose a guided make-and-display project instead of a decoration that arrives already finished.
| silentchic.com | Ready-Made Seasonal Decor | |
|---|---|---|
| Guided Making | ||
| Four-Step Assembly | ||
| Layered Tree Form | ||
| Decorative Accents | ||
| Hanging Display | ||
| Handmade Finish |
Made for Different Holiday Moments
Questions Before You Start
Is this a completed Christmas tree?
Is this a completed Christmas tree?
No. This is a DIY kit with the main materials and instructions needed to create one hanging tree decoration.
What size will the finished tree be?
What size will the finished tree be?
The stated finished size is approximately 51 inches tall and 15–18 inches wide. Handmade shaping and assembly can create slight variation.
Is it suitable for a newer sewer?
Is it suitable for a newer sewer?
The product is described as beginner-friendly to intermediate-friendly and includes step-by-step instructions. Basic sewing familiarity may be helpful.
Where should I display it?
Where should I display it?
Supported locations include a front or interior door, entryway wall, mantel or fireplace area, living-room feature wall, craft room, or holiday photo corner. Use indoors or in a dry, protected covered area.